

| sitelink1 | http://webnautes.tistory.com/1013 |
|---|---|
| sitelink2 | |
| sitelink3 |
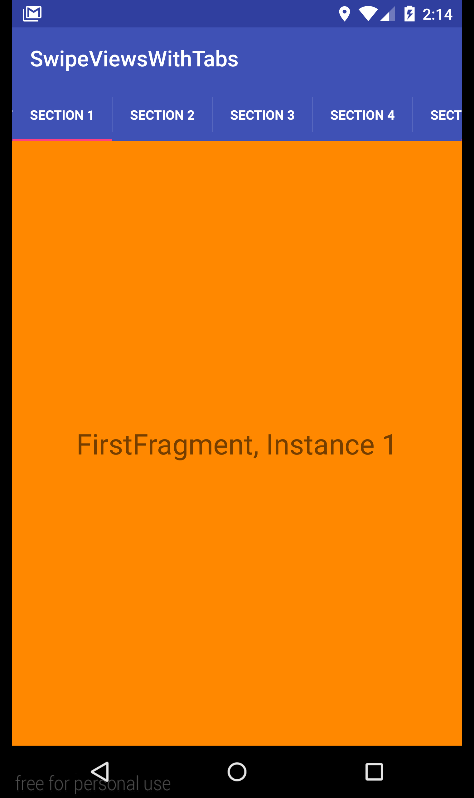
스와이프(swipe) 동작은 손가락을 화면에 댄 후, 일직선으로 드래그했다가 손을 떼는 동작입니다.. 이 동작을 이용하여 탭으로 선택가능한 뷰간의 화면전환에 대한 예제입니다.
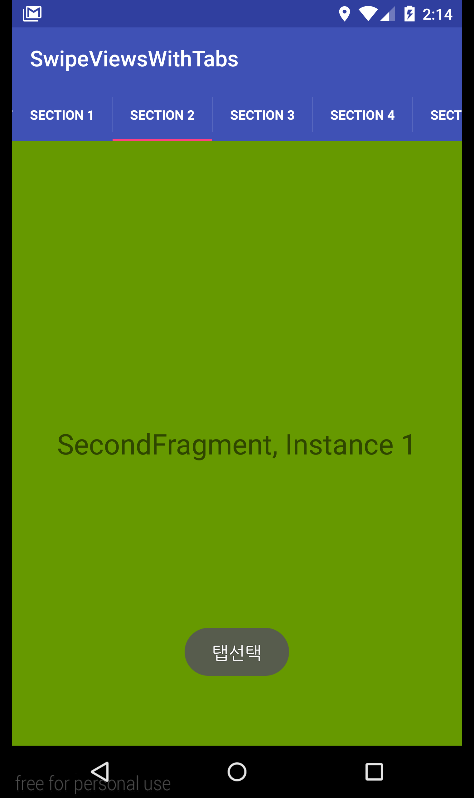
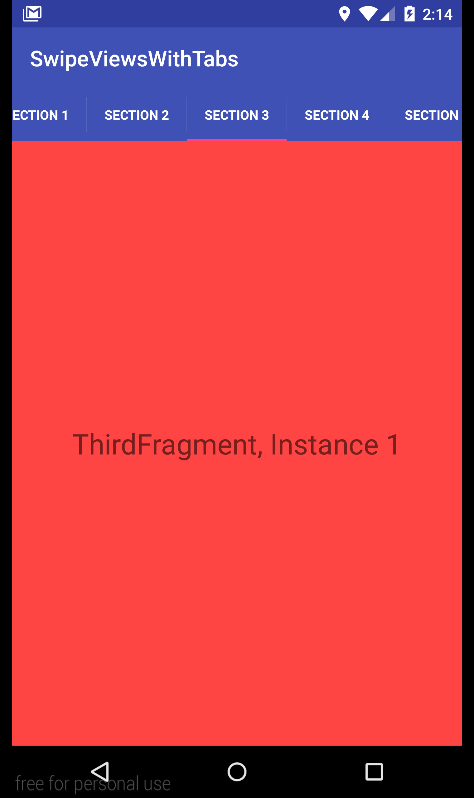
처음 실행되면 SECTION 1탭이 선택된 상태로 첫번째 프레그먼트가 보여지고 이 상태에서 오른쪽으로 스와이프하거나 SECTION 2탭을 선택하면 두번째 프로그먼트가 보여집니다. 마찬가지로 오른쪽으로 스와프하여 Section 3을 볼 수 있습니다. 반대로 왼쪽으로 스와이프하면 다시 Section 2가 보여집니다.
 |
 |
 |
ViewPager는 좌우 스와이프 동작으로 페이지 전환을 가능하도록 해주는 레이아웃 매니저입니다.. 보여지는 뷰를 생성하기 위해서 FragmentPagerAdapter와 FragmentStatePagerAdapter를 사용하여 fragment를 생성할 수 있습니다.
FragmentStatePagerAdapter는 화면에 보여지지 않는 fragment를 메모리에서 제거하지만 FragmentPagerAdapter는 모든 fragment를 메모리에 유지합니다. 메모리에 부담을 주지 않기 위해서 FragmentPagerAdapter에서 생성한 fragment수를 3이하로 하거나 FragmentStatePagerAdapter를 사용하는 것을 권장하고 있습니다.
아래 코드에선 3개의 fragment는 각각 독립된 fragment를 생성하고 4번째, 5번째 fragment는 3번째 fragment의 인스턴스를 생성하고 있습니다.
|
1
2
3
4
5
6
7
8
9
10
11
12
13
14
15
16
17
18
19
20
21
22
23
24
25
26
27
28
29
30
31
32
33
34
35
36
37
38
39
40
41
42
43
44
45
46
47
48
49
50
51
52
53
54
55
56
57
58
59
60
61
62
63
64
65
66
67
68
69
70
71
72
73
74
75
76
77
78
79
80
81
82
83
84
85
86
87
88
89
90
91
92
93
94
95
96
97
98
99
100
101
102
103
104
105
106
107
108
109
110
111
112
113
114
115
116
117
118
119
120
121
122
123
124
125
126
|
package com.tistory.webnautes.swipeviewswithtabs;
import android.support.v7.app.ActionBar;
import android.os.Bundle;
import android.support.v4.app.Fragment;
import android.support.v4.app.FragmentManager;
import android.support.v4.app.FragmentPagerAdapter;
import android.support.v4.view.ViewPager;
import android.support.v7.app.AppCompatActivity;
import android.widget.Toast;
public class MainActivity extends AppCompatActivity implements ActionBar.TabListener {
AppSectionsPagerAdapter mAppSectionsPagerAdapter;
//ViewPager에는 한번에 하나의 섹션만 보여진다.
static ViewPager mViewPager;
public void onCreate(Bundle savedInstanceState) {
super.onCreate(savedInstanceState);
setContentView(R.layout.activity_main);
//어댑터를 생성한다. 섹션마다 프래그먼트를 생성하여 리턴해준다.
mAppSectionsPagerAdapter = new AppSectionsPagerAdapter(getSupportFragmentManager());
//액션바를 설정한다.
final ActionBar actionBar = getSupportActionBar();
//액션바 코너에 있는 Home버튼을 비활성화 한다.
actionBar.setHomeButtonEnabled(true);
//탭을 액션바에 보여줄 것이라고 지정한다.
actionBar.setNavigationMode(ActionBar.NAVIGATION_MODE_TABS);
//ViewPager를 설정하고
mViewPager = (ViewPager) findViewById(R.id.pager);
//ViewPager에 어댑터를 연결한다.
mViewPager.setAdapter(mAppSectionsPagerAdapter);
//사용자가 섹션사이를 스와이프할때 발생하는 이벤트에 대한 리스너를 설정한다.
mViewPager.setOnPageChangeListener(new ViewPager.SimpleOnPageChangeListener() {
@Override //스와이프로 페이지 이동시 호출됨
public void onPageSelected(int position) {
//swipe - 손가락을 화면에 댄 후, 일직선으로 드래그했다가 손을 떼는 동작이다.
//화면을 좌우로 스와이핑하여 섹션 사이를 이동할 때, 현재 선택된 탭의 위치이다.
//액션바의 탭위치를 페이지 위치에 맞춘다.
actionBar.setSelectedNavigationItem(position);
}
});
//각각의 섹션을 위한 탭을 액션바에 추가한다.
for (int i = 0; i <mAppSectionsPagerAdapter.getCount(); i++) {
actionBar.addTab(
actionBar.newTab()
//어댑터에서 정의한 페이지 제목을 탭에 보이는 문자열로 사용한다.
.setText(mAppSectionsPagerAdapter.getPageTitle(i))
//TabListener 인터페이스를 구현할 액티비티 오브젝트도 지정한다.
.setTabListener(this));
}
}
@Override //액션바의 탭 선택시 호출됨
public void onTabSelected(ActionBar.Tab tab, android.support.v4.app.FragmentTransaction ft) {
//액션바에서 선택된 탭에 대응되는 페이지를 뷰페이지에서 현재 보여지는 페이지로 변경한다.
mViewPager.setCurrentItem(tab.getPosition());
}
@Override
public void onTabUnselected(ActionBar.Tab tab, android.support.v4.app.FragmentTransaction ft) {
}
@Override
public void onTabReselected(ActionBar.Tab tab, android.support.v4.app.FragmentTransaction ft) {
}
//세션에 대응되는 프래그먼트를 리턴한다
//FragmentPagerAdapter는 메모리에 프래그먼트를 로드한 상태로 유지하지만(3개 프래그먼트 유지하는게 적당함)
//FragmentStatePagerAdapter는 화면에 보이지 않는 프래그먼트는 메모리에서 제거한다.
public static class AppSectionsPagerAdapter extends FragmentPagerAdapter {
private FragmentManager fm;
public AppSectionsPagerAdapter(FragmentManager fm) {
super(fm);
this.fm = fm;
}
@Override
public Fragment getItem(int pos) {
//태그로 프래그먼트를 찾는다.
Fragment fragment = fm.findFragmentByTag("android:switcher:" + mViewPager.getId() + ":" + getItemId(pos));
//프래그먼트가 이미 생성되어 있는 경우에는 리턴
if (fragment != null) {
return fragment;
}
//프래그먼트의 인스턴스를 생성한다.
switch(pos) {
case 0: return FirstFragment.newInstance("FirstFragment, Instance 1");
case 1: return SecondFragment.newInstance("SecondFragment, Instance 1");
case 2: return ThirdFragment.newInstance("ThirdFragment, Instance 1");
case 3: return ThirdFragment.newInstance("ThirdFragment, Instance 2");
case 4: return ThirdFragment.newInstance("ThirdFragment, Instance 3");
default: return ThirdFragment.newInstance("ThirdFragment, Default");
}
}
//프래그먼트를 최대 5개를 생성할 것임
@Override
public int getCount() {
return 5;
}
//탭의 제목으로 사용되는 문자열 생성
@Override
public CharSequence getPageTitle(int position) {
return "Section " + (position + 1);
}
}
}
|
cs |
activity_main.xml
|
1
2
3
4
5
6
|
<?xml version="1.0" encoding="utf-8"?>
<android.support.v4.view.ViewPager
xmlns:android="http://schemas.android.com/apk/res/android"
android:id="@+id/pager"
android:layout_width="match_parent"
android:layout_height="match_parent" />
|
cs |
FirstFragment.java
|
1
2
3
4
5
6
7
8
9
10
11
12
13
14
15
16
17
18
19
20
21
22
23
24
25
26
27
28
29
30
31
32
33
|
package com.tistory.webnautes.swipeviewswithtabs;
import android.os.Bundle;
import android.support.v4.app.Fragment;
import android.view.LayoutInflater;
import android.view.View;
import android.view.ViewGroup;
import android.widget.TextView;
public class FirstFragment extends Fragment {
@Override
public View onCreateView(LayoutInflater inflater, ViewGroup container, Bundle savedInstanceState) {
View v = inflater.inflate(R.layout.first_frag, container, false);
TextView tv = (TextView) v.findViewById(R.id.tvFragFirst);
tv.setText(getArguments().getString("msg"));
return v;
}
public static FirstFragment newInstance(String text) {
FirstFragment f = new FirstFragment();
Bundle b = new Bundle();
b.putString("msg", text);
f.setArguments(b);
return f;
}
}
|
cs |
first_frag.xml
|
1
2
3
4
5
6
7
8
9
10
11
12
13
14
15
|
<?xml version="1.0" encoding="utf-8"?>
<RelativeLayout xmlns:android="http://schemas.android.com/apk/res/android"
android:layout_width="match_parent"
android:layout_height="match_parent"
android:background="@android:color/holo_orange_dark" >
<TextView
android:id="@+id/tvFragFirst"
android:layout_width="wrap_content"
android:layout_height="wrap_content"
android:layout_centerHorizontal="true"
android:layout_centerVertical="true"
android:textSize="26dp"
android:text="TextView" />
</RelativeLayout>
|
cs |
중복되는 코드가 많아서 소스코드를 압축해서 같이 올립니다.
참고
https://github.com/ekyawthan/AndroidTutorials/tree/a6e0e6667bb1d96bc86f14344f49e559bfbde8c2/EffectiveNavigation
https://developer.android.com/training/implementing-navigation/lateral.html
http://stackoverflow.com/questions/18413309/how-to-implement-a-viewpager-with-different-fragments-layouts